
Step Lights
Exterior step lights are a fantastic way to improve both the visibility and the aesthetics of your outdoor living space. From outdoor stair step lights that lead guests through the garden to LED deck step lights that bring them to the entertainment space, external step lights can make quite the difference.
No matter what you hope to achieve with your exterior stair lights, we’re here to help.
Showing 1–20 of 25 resultsSorted by price: low to high
-

-
-

-

-

-
-
-
-
-
-
-
Sale!
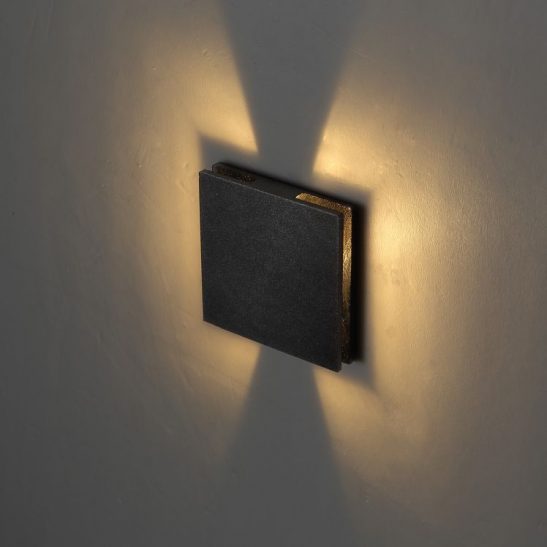
6 Watt Black Recessed Low Level External Wall Light
Original price was: £54.43.£47.26Current price is: £47.26. (Excl. VAT £39.38) Add to basket -
-


